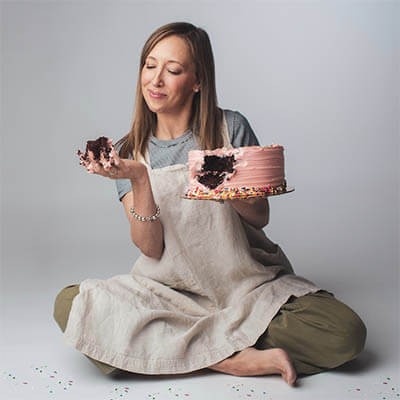
Eat dessert. Then eat the bowl.
This is fun. You can make an elegant, edible chocolate bowl with nothing more than a balloon. It’s an easy, secret pastry chef trick that has a serious wow factor. Here’s how to make a balloon chocolate bowl.

Balloon Chocolate Bowls: The Ultimate Party Trick
Making edible chocolate bowls with balloons is possibly the world’s most delicious and fun arts and crafts project. A classic pastry technique, these homemade chocolate bowls require only balloons and chocolate. (And, of course, whatever sweet treat you want to fill them with.)
Here’s how to make them, step by step.

Instructions: How to Make Balloon Chocolate Bowls with Balloons
First, please confirm that no one has a latex allergy. Once you know it’s safe, making this chocolate bowls recipe requires only the following tools and ingredients:
- 6 ounces good-quality dark chocolate
- 12 small balloons
- 2 sheets of parchment
- A thermometer, mixing bowl, and spatula
A couple of dos and don’ts:
- Use “real” chocolate, also known as baking chocolate, and not chocolate chips or candy melts. Chocolate chips contain stabilizers. Melted chocolate chips will not harden correctly, and cannot be tempered.
- Use small balloons. If you only have standard balloons, blow them up only to the size of oranges or so.
- Take the extra step and temper the chocolate before dipping the balloons. Tempering chocolate is not hard, and will produce, smooth, glossy chocolate with a good snap when broken. Here’s how:

How to Temper Chocolate
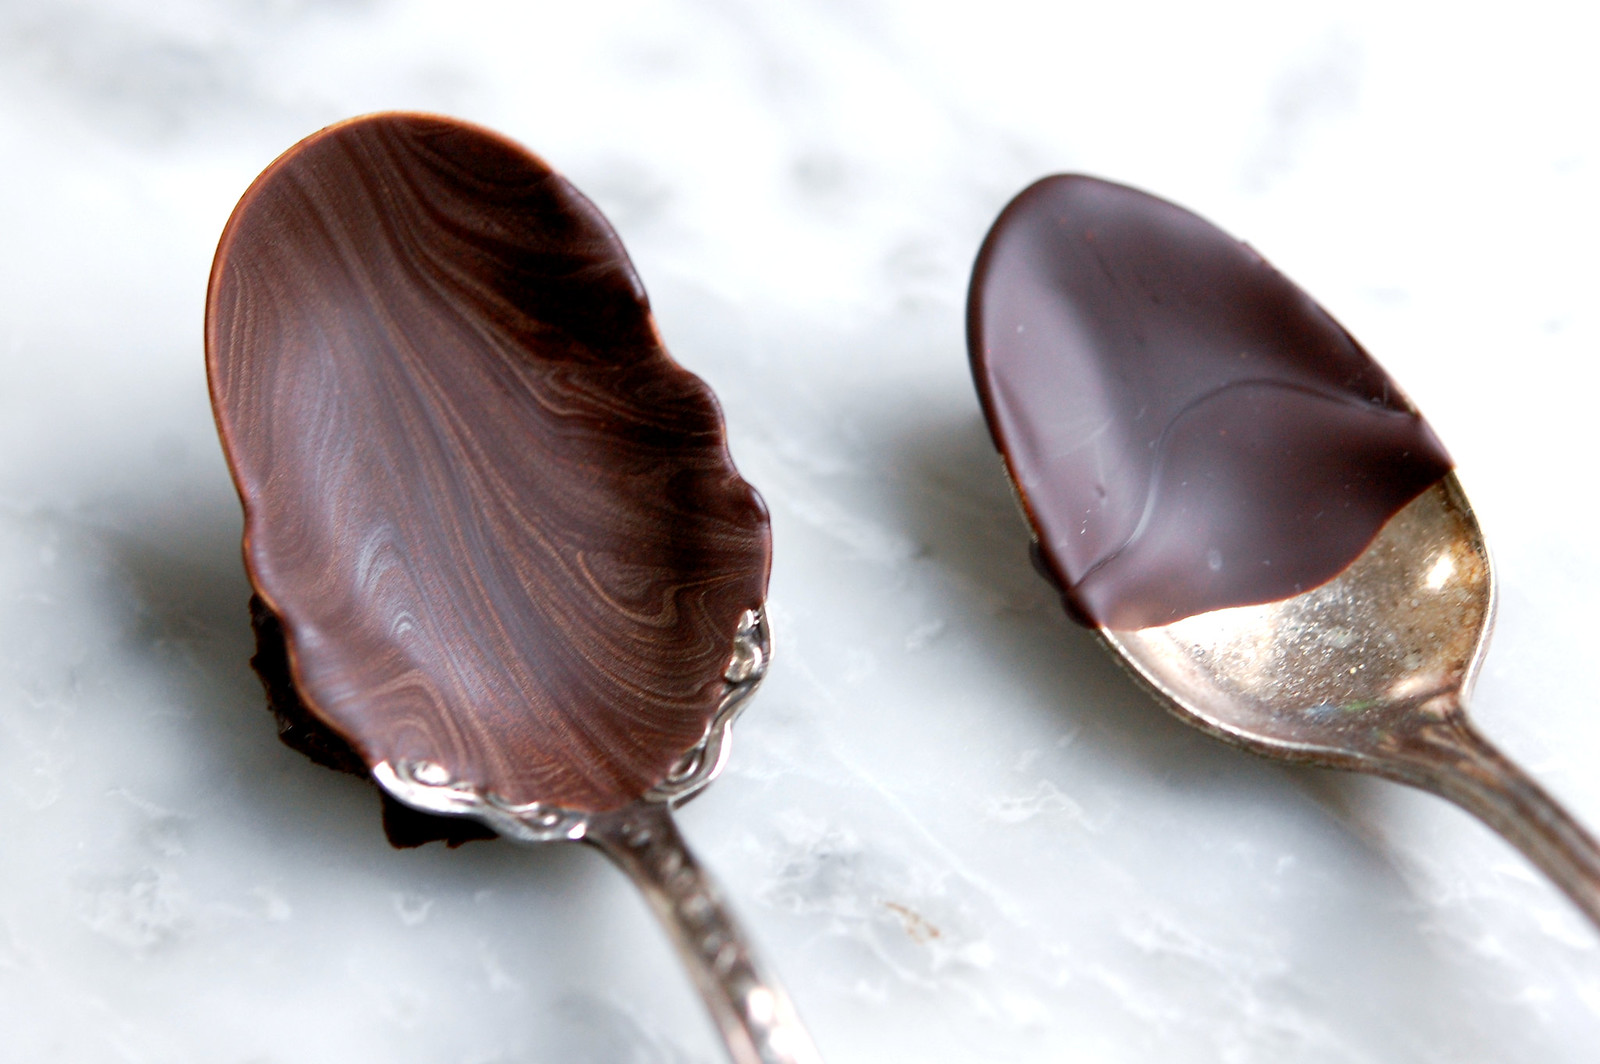
If you really want to do these right, temper the chocolate. Tempering chocolate will give you a shiny, smooth dark chocolate with real snap. Un-tempered chocolate can look streaky, with a less crisp texture.
To do this, you will need a good-quality, accurate digital thermometer, a glass or metal bowl, and spatula.
To temper dark chocolate (milk and white chocolate use different temperatures):
- Divide chopped chocolate into 2:3 ratio. Here, we will do 6 ounces of chocolate total, divided into two portions: 4 ounces and 2 ounces. (Again, you are using “real” dark chocolate, not chocolate chips or candy melts.)
- Melt the larger (4-ounce) proportion to 115° to 118° F. Do this either over a double boiler or in the microwave in short time increments, stirring often. If you are using a double boiler method, keep the water at a low simmer and leave space between the pot of water and the bottom of the mixing bowl so the steam heats the chocolate, not the hot water.
- Remove the melted chocolate from the heat and begin seeding it with the reserved (2-ounce) chocolate in several additions, stirring frequently and letting one addition melt before adding the next.
- Stir and seed until the temperature of the chocolate is 87 to 89° F, and all the chocolate is fully melted.
Your chocolate is now in temper.
Pro tip: Keep your chocolate in its temperature range by wrapping the bowl with a gently warmed kitchen towel or tea cozy. You can also place it back on top of the double boiler, stirring, for a few seconds until it stays in its range.
Jump To:
Dipping the Balloons in Chocolate
Making the chocolate balloon bowls is not hard, but you want to get the technique right — like letting the air out slowly from the balloons, and not letting the balloons pop. After you have your small bowl of chocolate and about 8 to 12 small balloons, place two sheets of parchment paper on the counter top or on a baking sheet pan.
- Spoon a small dollop of chocolate onto the parchment paper; this will be the base for the bowl.
- Dip a balloon evenly in the chocolate bowl, letting it come up the sides of the balloon a bit. Then place the balloon on top of the chocolate dollop. Hold it in place for a few seconds until it stands on its own. Repeat with the remaining balloons.
- Let the chocolate balloons harden for at least an hour.
- Release the air from the balloons gently by piercing a small hole with a safety pin or sewing pin while pinching the opening. Gently peel the balloons from the chocolate and discard. Do not pop the balloons! It will shatter the chocolate bowl.
Do not worry if a few break or chip. This is normal. You can and re-temper the broken chocolate.
How to Serve Your Homemade Chocolate Bowls
Though these will stand on their own and serve as their own serving dish, it is best to place the bowls on a small plate. They tend to break once you start eating what’s inside.
As for enjoying your chocolate bowl, you can fill them with lots of good things, just as long as it’s not hot (which will melt the chocolate). Some of my favorite serving ideas:
- Fresh berries and whipped cream,
- Ice cream with sprinkles,
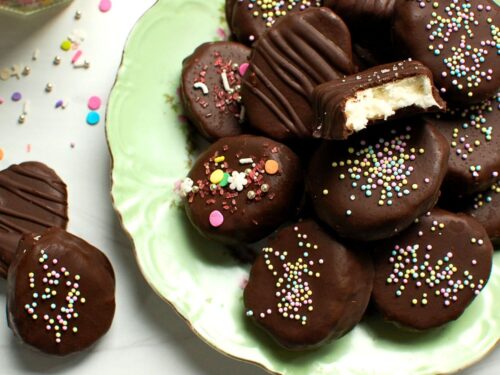
- Chocolate candies or truffles,
- Chocolate mousse.
More great chocolate recipes to enjoy: