You’ll see red — in a good way.
Juneteenth food, recipes, and history reflects centuries-old tradition and symbolism. Juneteenth has become a celebratory day within the African-American community, with fabulous (often red) food to match. Learn the history of Juneteenth food, with great Juneteenth recipe ideas for celebrating this important day.
What Is Juneteenth?
Juneteenth marks the day in 1865 when Union soldiers rode to Galveston, Texas and told the enslaved population that they had been freed by the Emancipation Proclamation — over two years prior, on January 1, 1863.
Slaveowners had withheld news of the enslaved peoples’ emancipation by Abraham Lincoln. Indeed, the 1865 date marking Juneteenth was fully two months after Confederate Gen. Robert E. Lee surrendered at Appomattox, in April 1865.
How is Juneteenth Celebrated?
Juneteenth food history reflects centuries-old history, tradition, and symbolism. Since 1865, Juneteenth (a combination of June and nineteenth) has become a celebratory day within the African-American community. Evolving over the centuries, Juneteenth celebrations include parades, parties, prayer, and (of course) Juneteenth food.
Jump To:
What’s the History of Juneteenth Food?
Juneteenth food stands rooted in culture, history, and community. According to Juneteenth.com:
Certain foods became popular and subsequently synonymous with Juneteenth celebrations, such as strawberry soda pop. More traditional and just as popular was the barbecuing, through which Juneteenth participants could share in the spirit and aromas that their ancestors . . . Hence, the barbecue pit is often established as the center of attention at Juneteenth celebrations.
Food was abundant because everyone prepared a special dish . . . A true Juneteenth celebrations left visitors well satisfied and with enough conversation to last until the next.
Why Is Juneteenth Food Red?
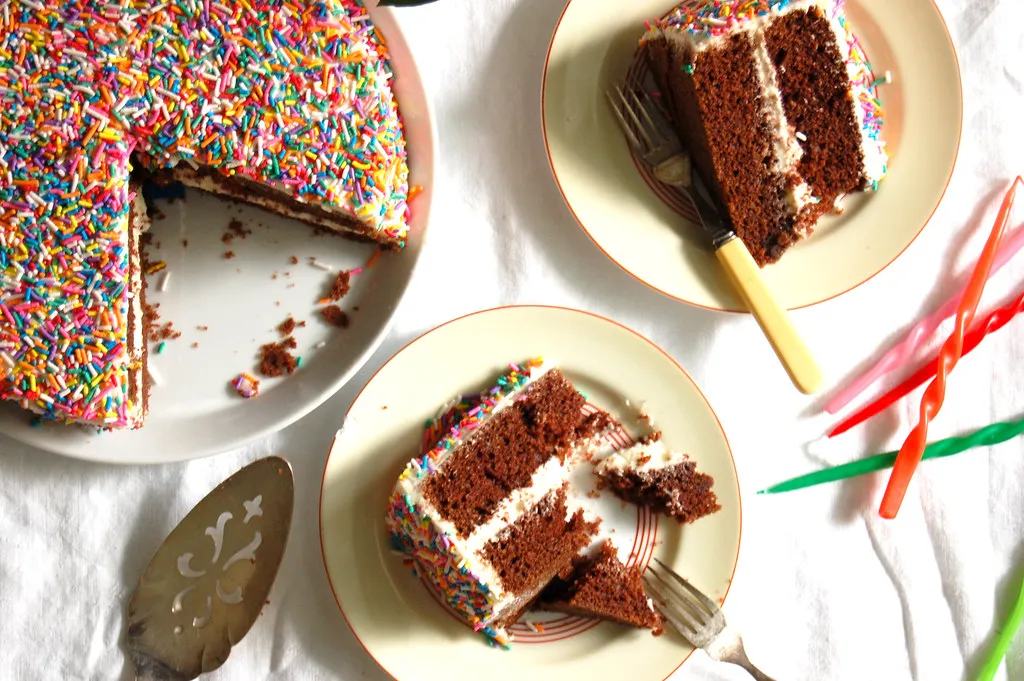
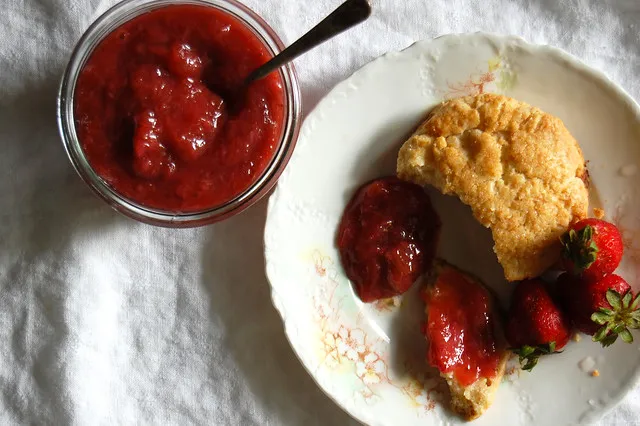
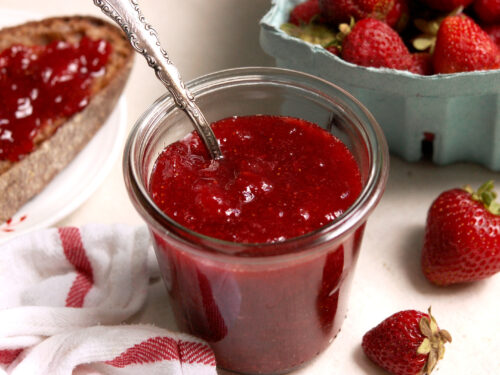
Red food became another important Juneteenth fixture. Common red foods seen at Juneteenth celebrations include red soda or lemonade, red velvet cake, and watermelon. (Plus barbecue and great sides.)
History offers several explanations why Juneteenth food is often red. According to culinary historian Michael Twitty in Afroculinaria:
The practice of eating red foods—red cake, barbecue, punch and fruit– may owe its existence to the enslaved Yoruba and Kongo brought to Texas in the 19th century. For both of these cultures the color red is the embodiment of spiritual power and transformation. Enslavement narratives from Texas recall an African ancestor being lured using red flannel cloth, and many of the charms and power objects used to manipulate invisible forces required a red handkerchief.

Other sources posit that red symbolizes the blood of the generations of slaves who were tortured and who perished. Additionally, red may derive from West African Asante and Yoruba peoples’ traditional offerings of animal blood to their ancestors and gods.
Red, in many West African cultures, is a symbol of strength, spirituality, and life and death. It’s possible this cultural legacy along with these groups’ distinct food knowledge of okra, beans, melons, and many other food groupings—some red, some not—was brought across the Atlantic.
Juneteenth continues to become a more recognized holiday outside the African-American community. Knowing Juneteenth food history helps celebrate the day even more.

As for red drinks, red drinks at Juneteenth celebrations have roots in two native West African plants: the kola nut and hibiscus. White or red kola nuts are served as snacks, as a water purifier, and steeped for tea. Hibiscus flowers are brewed into reddish-purple bissap tea.
And check out our list of Juneteenth recipe ideas and food for celebrating this year!

What foods are part of your Juneteenth celebration? Share in the comments. And want more to dig into? You’ll also like:
- Interview: Dancer Nardia Boodoo on Racism
- Green Chile Cornbread
- No-Churn Strawberry Ice Cream
- Strawberry Shortcakes With Cream Biscuits

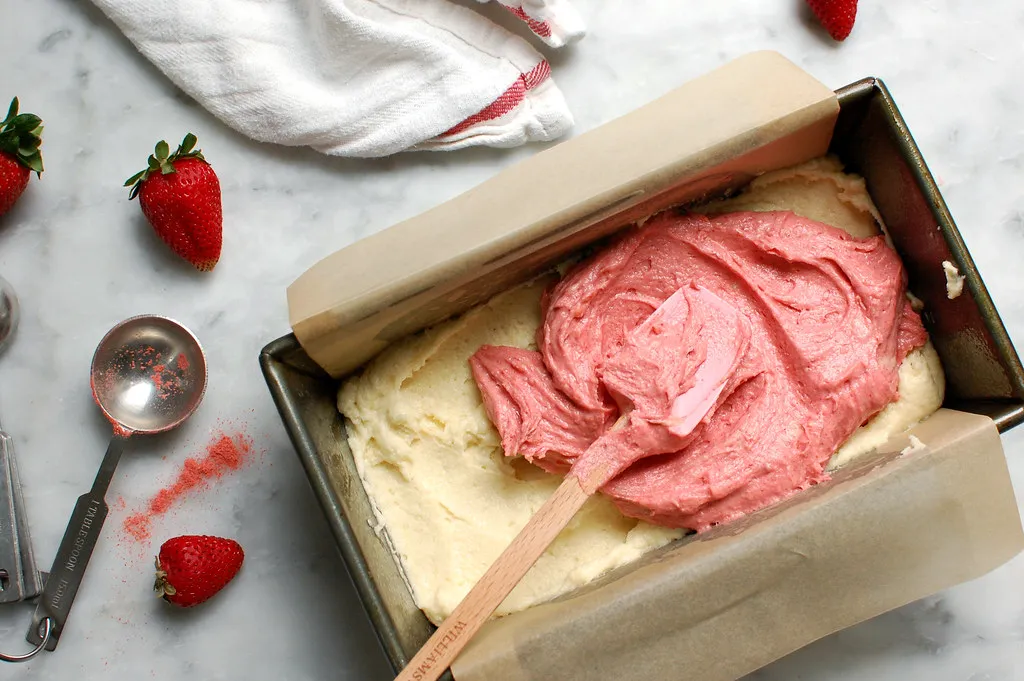
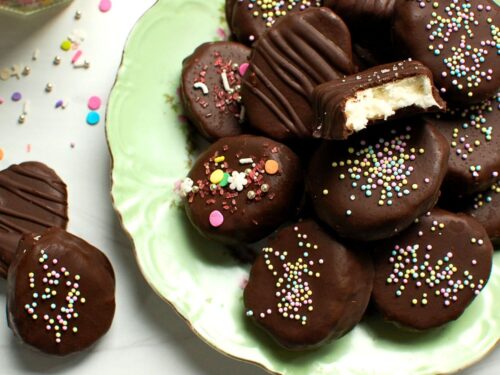
Velvet Layer Cake Without Food Coloring
Ingredients
- 2 2/3 cups cake flour
- 1/3 cup cocoa powder, sifted (I like Hershey's)
- 1 teaspoon kosher salt
- 1 1/2 cups neutral vegetable oil, like canola
- 1 2/3 cups sugar
- 3 large eggs
- 2 teaspoons pure vanilla extract
- scant 1 cup buttermilk
- 1 1/2 teaspoons baking soda
- 2 teaspoons white vinegar
- 1/4 cup cold water (or food coloring, if you must)
- Buttercream frosting, to decorate (recipe follows)
Instructions
- Preheat the oven to 350°F and grease two 9" cake pans and line the bottoms with parchment paper, or line muffin tins.
- Sift together the cocoa powder, flour, and salt and set aside.PRO TIP: You must sift the dry ingredients, especially the cocoa powder. Cocoa powder, if left unsifted, will clump in the batter.
- In the bowl of a large mixer fitted with the paddle attachment, beat the oil and sugar on medium until fully mixed and lightened slightly in color. Lower the mixer to low and add the eggs one at a time, then the vanilla. Add each egg when the previous one is almost fully mixed in. Scrape the bowl and beat on medium until everything is fully emulsified and smooth.
- With the mixer on low, alternately add the flour/cocoa mixture and the buttermilk in two additions each: flour, buttermilk, flour, buttermilk. Scrape the bowl and mix again on low until everything is emulsified.
- In a small bowl, whisk together the baking soda and white vinegar. It will sizzle like a mini-volcano science experiment. Add this to the cake batter with the 1/4 cup water (or food coloring, if using) and mix on medium speed for about 10 seconds to fully combine. Scrape the bowl.
- Divide the cake batter evenly between the cake pans or muffin tins and bake on the center rack until done, about 25 to 35 minutes for 9" cake layers, and about 18 to 20 minutes for cupcakes.
- Let cool in the cake pans until you can handle them without an oven mitt, but are still warm. Turn out onto cooling racks, removing the parchment from the bottom of the cakes, and cool fully before eating or decorating. PRO TIP: The best way to remove cakes from a cake pan is to run a small offset spatula around the edges first, with the front of the spatula facing outward so it does not accidentally cut into the cake. I like this Ateco one, and find it indispensable.
- To layer and decorate you cakes, use this recipe for classic vanilla buttercream frosting, or whip up a Swiss meringue buttercream.
Notes
Nutrition
Disclaimer: Nutrition information is provided for courtesy purposes only, and is an estimate not verified by medical or nutrition experts. Read the full nutrition disclaimer.


5 comments
ALEGRA
This is a truly good cake recipe. very moist, very easy to make. I like the more natural color just fine.
Ricki
Beautiful cake and thank you for that interesting article. Love hearing about different foods people enjoy for their celebrations
J.H.
Cake is delicious and thanks for this article. Learned a lot.
Linda
I make red velvet cupcakes for my son-in-law’s birthday. I got the recipe from Bennington Potters. It uses beets in the recipe and they are moist and delicious!
Unpeeled
I’ve always wanted to try that! Do you have to cook the beets first, or are they grated?