All things bright and beautiful.
As a pastry student at the C.I.A., one of the most interesting classes I took was not about something fancy. Yes, we learned to make entremets and tiered wedding cakes, chocolate sculptures and fancy plated desserts. These lessons were taught to us by the original pastry chef at the famed French Laundry restaurant, no less. But one class that particularly sticks in my head was the day we learned how to make an arranged fruit platter. Turns out, there is a right and wrong way.
The former pastry chef of an extremely fancy, extremely expensive hotel in Napa Valley taught fruit slicing and arrangement class. He towered over us in his white chef’s jacket and toque, pineapple in one hand, a large knife in the other. He demonstrated how to break down every possible type of fruit, from watermelon to rambutan, while waxing on about the importance of fruit aesthetics. “You can charge at least double if it looks good,” he said.
You will also like: Honey Maple Granola and How to Slice a Loaf of Bread
A few minutes later, he proved his point. The group of us students stood around a giant wooden demonstration table taking notes as he crafted an elegant plate of cut fruit. Precisely-cut melon fanned out just so against a spray of vivid berries. There may have been a kiwi rosette. I would have paid a lot of money for that fruit, if I was not completely broke at the time.
The point is: The same ingredients can make very different finished products solely because of their appearance. Making things look good makes us want them more.
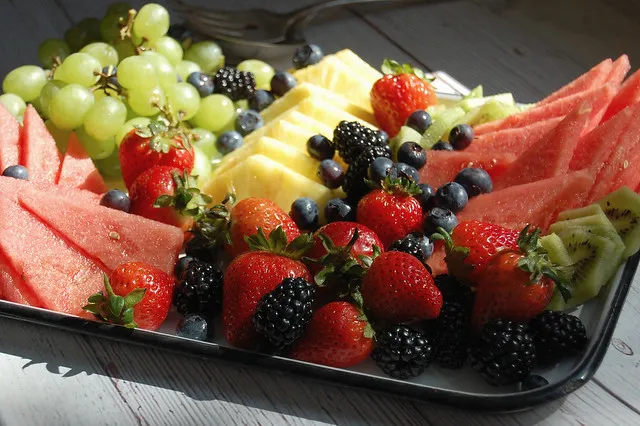
As far as fruit goes, a nicely-arranged fruit platter will always look more special than a bowl full of anemic melon chunks blotted with an occasional strawberry or red grape. (You know the fruit salad I mean.)
Here are the eight professional guideposts to making a gorgeous fruit plate.
Rule #1: A beautiful, arranged fruit platter does not mean inaccessible or fancy.
Food should look inviting and edible. Over-arrangement, especially in a casual house party or barbecue, can look a little fussy. You do not want people to be afraid to dig in. You can arrange a beautiful fruit platter without knowing how to make kiwi rosettes or intricately-carved watermelon baskets.
Rule #2: Create anchors.
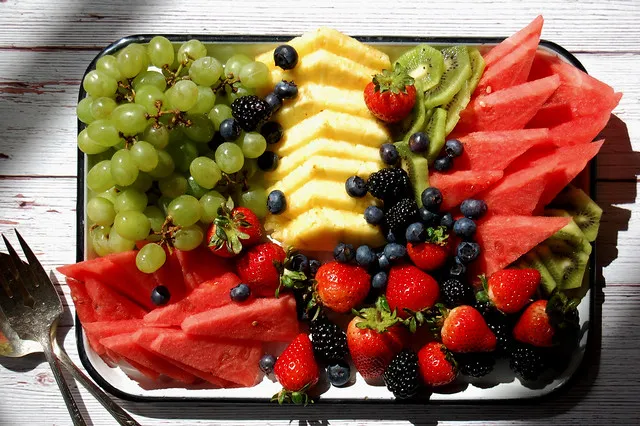
The first thing you should do — after choosing your platter of choice; it can be round, oval, square, or rectangular — is create an “anchor” area of fruit. This anchor should not be at the center, which looks more dated. This anchor could be a cluster of grapes, a diamond-cut mango, or something else with a little height and depth.
Rule #3: Know what — and how — to cut.
Do not cut berries. They get messy and mushy. Large strawberries are the only possible exception. However, large strawberries 1) tend not to taste very good, and 2) oxidize a bit and become dry looking when cut.
Vary the sizes and shapes in your arranged fruit platter. Go for thinner, angled slices of melon; rounds of kiwi; diced squares of mango; and so on. Avoid clunky big chunks.
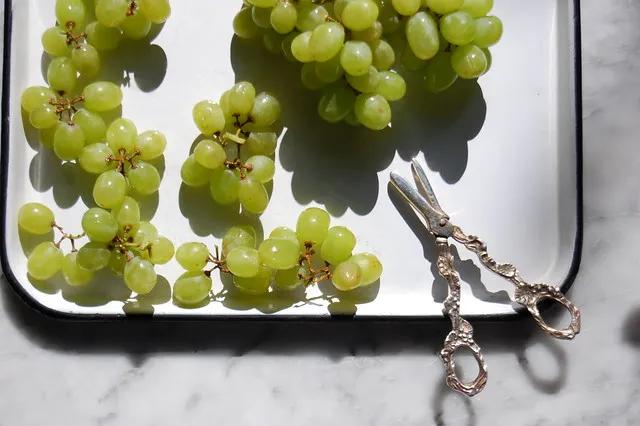
Grapes should be cut into small clusters from the large, main stem. This way, multiple hands are not plucking off individual grapes throughout the day.
Rule #4: Mix careful arrangement with purposeful mess.
We dress appropriately for an occasion, and so should your fruit. No need to be overly fancy or contrived. Neat rows of fruit like citrus and melon looks best when handfuls of berries are casually scattered on top.
Rule #5: No mint sprigs.
No mint sprigs. That is all.
Rule #6: Avoid certain fruit.
Fruit like bananas and apples oxidize quickly and will brown quickly. Avoid. Also, bananas tend to give off a strong odor.
Rule #7: Color!
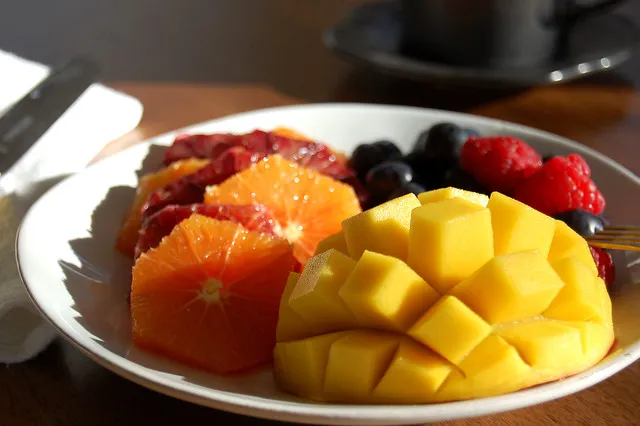
In general, a bright and vivid array of ripe, colorful fruits look best. Fruit can also look really chic when done in certain color schemes, like all pinks and purples: layering berries, watermelon, blood oranges, and so on. The solid-color-scheme plan works less successfully with bland colored fruit, however, which just looks washed out.
Rule #8: Let fruit stand alone . . . Usually.
Beautiful ripe fruit is enough on its own. It does not need to be gilded with added sugar, chocolate-dipped anything, cheeses, or dry slices of cake. The possible exception is if at a party, no additional dessert will be served. In that case, a row of brownies or buttery pound cake can be added. But make sure to keep the sizes proportional. Any added baked goods should be roughly the same size as the fruit. And make sure that cake or brownies will not be soaked by neighboring fruit. They are safest (and pair best) next to lower-moisture fruit, like berries.


4 comments
Teal
Ooh good tip on the melons–I usually default to chunks but will definitely do wedges next time I get my hands on one!
AJ
This is an interesting and useful article. \However, I do not understand what you mean by anchor. Which fruit is the anchor in your first picture? Is this the highest point of the tray?
Unpeeled
Hi, AJ! Great question. So by “anchor,” it basically means a focal point — something that your eye immediately goes to, instead of just having all of the fruit in an even spread. A lot of times this is the highest point. In this case (in the first photo), the grapes. Of course, this being an overhead shot, it does not capture depth very well! But that’s the general principle. Thanks for writing–great question.
Beth
My fruit platters never really look well put together but I’m excited to try out these tips on my next one. Thanks! This is definitely manageable 🙂